安装前准备:
1. 安装Python3.92(勾选自动配置环境变量)
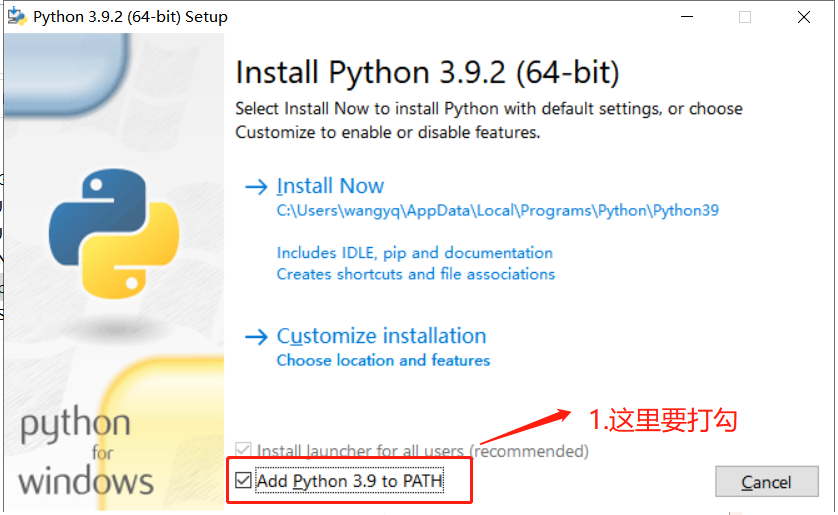
默认安装即可,安装完成后打开命令行,执行python指令 where python
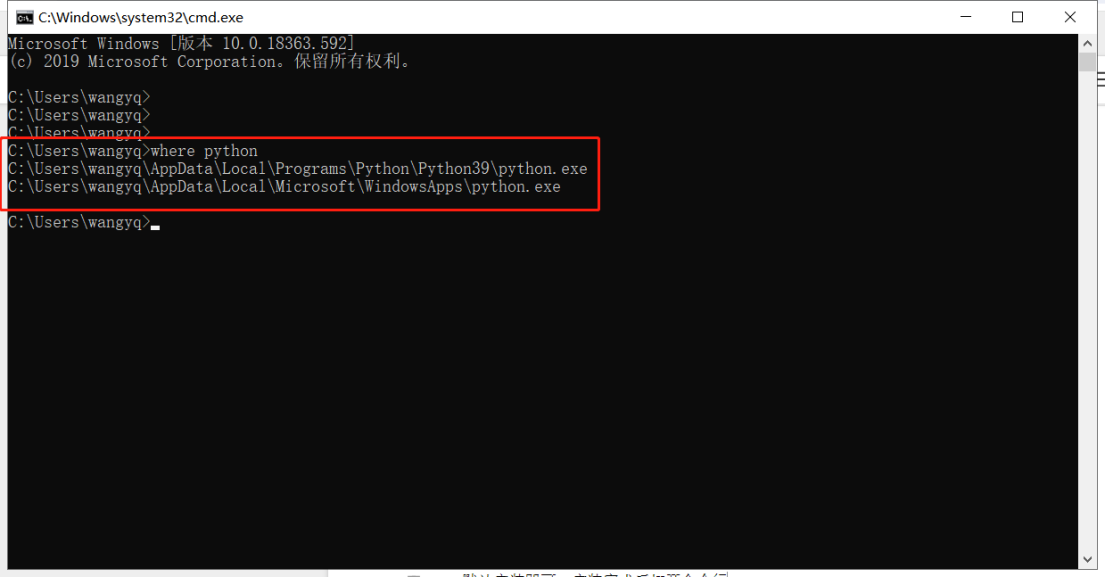
确保环境变量和python成功安装
2. 安装VScode
直接安装即可
3. 安装git
直接安装即可,具体参考百度
4. 安装Sourcetree(git管理GUI)
直接安装即可,具体参考百度
一.克隆代码
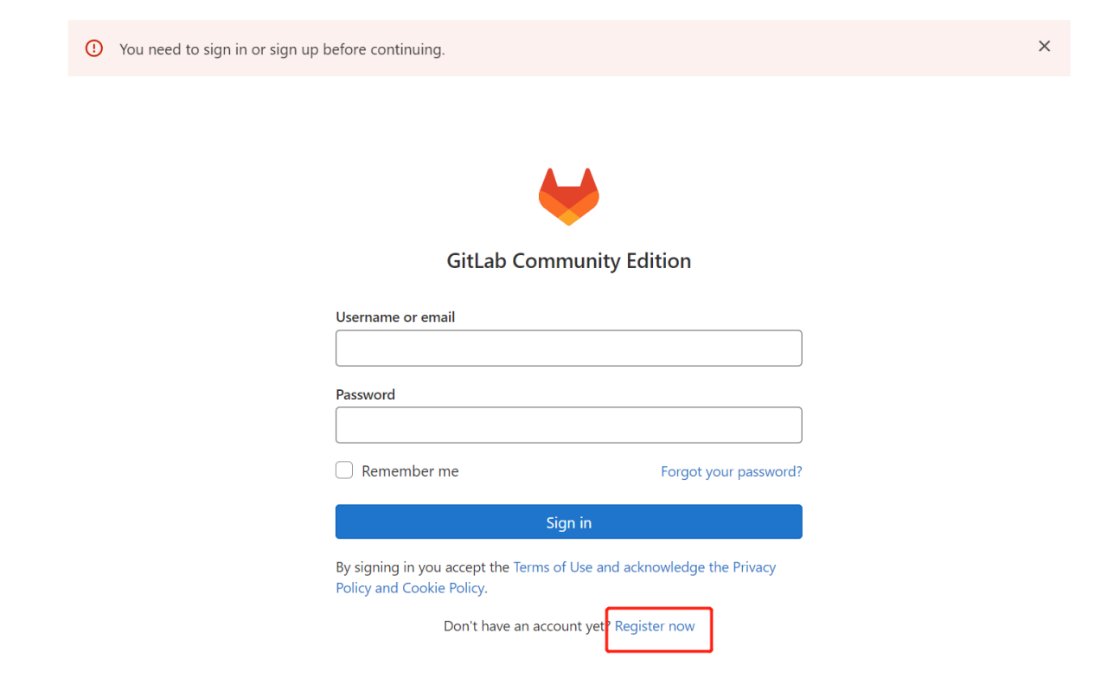
注册公司gitlab(找软件开发,同意注册)
复制git clone的地址
如:
ssh://[email protected]:8022/wrh/charging-pile-automation-test.git
由于厦门的同学是外网需要把黄色部分替换成1.tcp.cpolar.cn:20653,也就是会变成ssh://[email protected]:20653/wrh/charging-pile-automation-test.git
http的同理
1. 设置SSH免密登录gitlab,具体方法百度
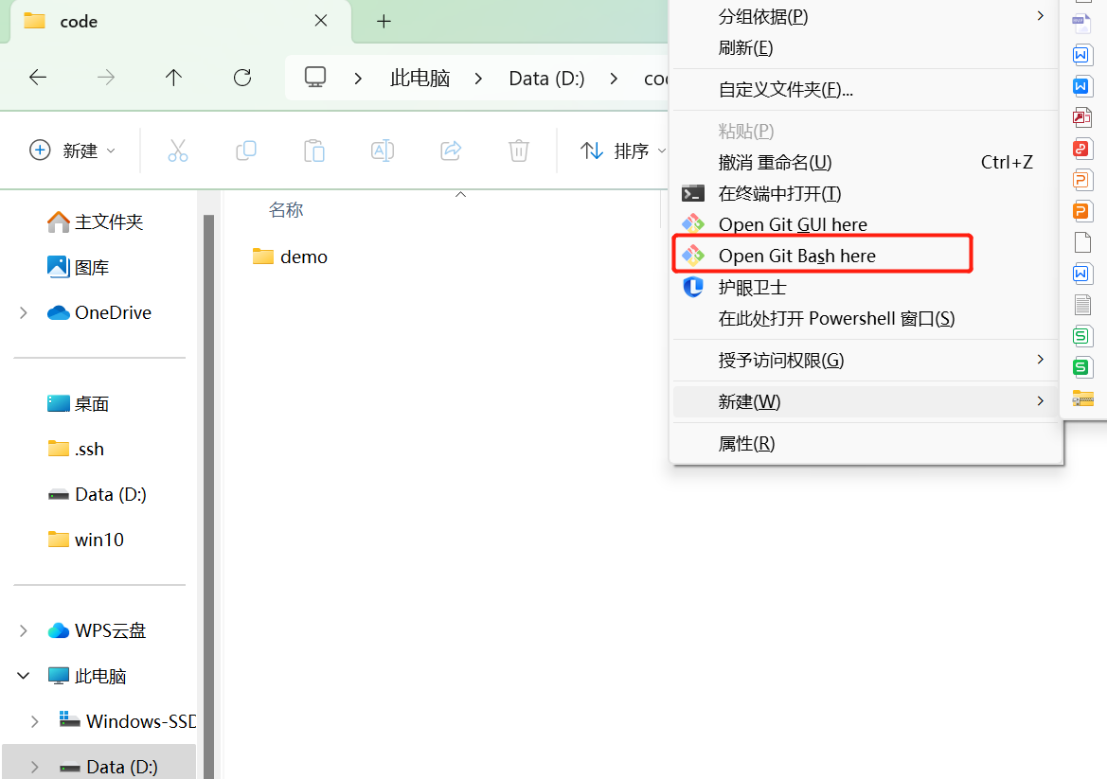
2. 在D盘目录建立一个文件夹来存放代码D:/code ,在该文件夹下执行git指令clone代码
厦门:
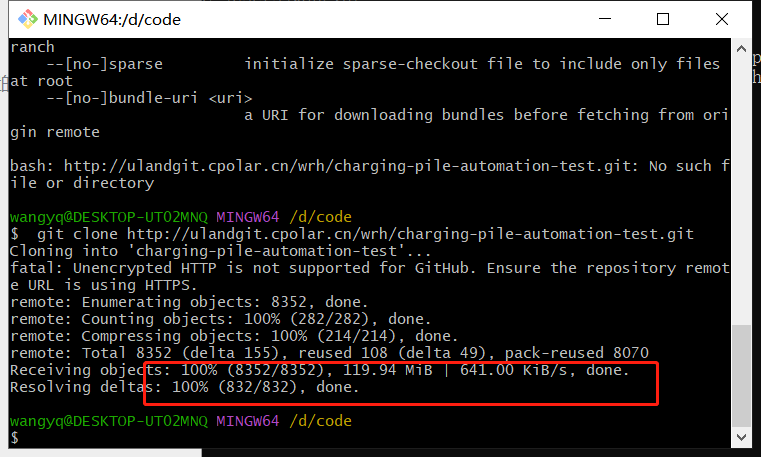
执行 git clone ssh://[email protected]:20653/wrh/charging-pile-automation-test.git
下载代码
或
git clone http://ulandgit.cpolar.cn/wrh/charging-pile-automation-test.git
下载代码
福州的直接clone即可

等待下载成功即可
下载安装 Microsoft Visual C++ 14.0 is required. Get it with “Build Tools for Visual Studio”: https://visualstudio.microsoft.com/downloads/(非必须)
二. 安装项目必要依赖库和测试框架管理工具
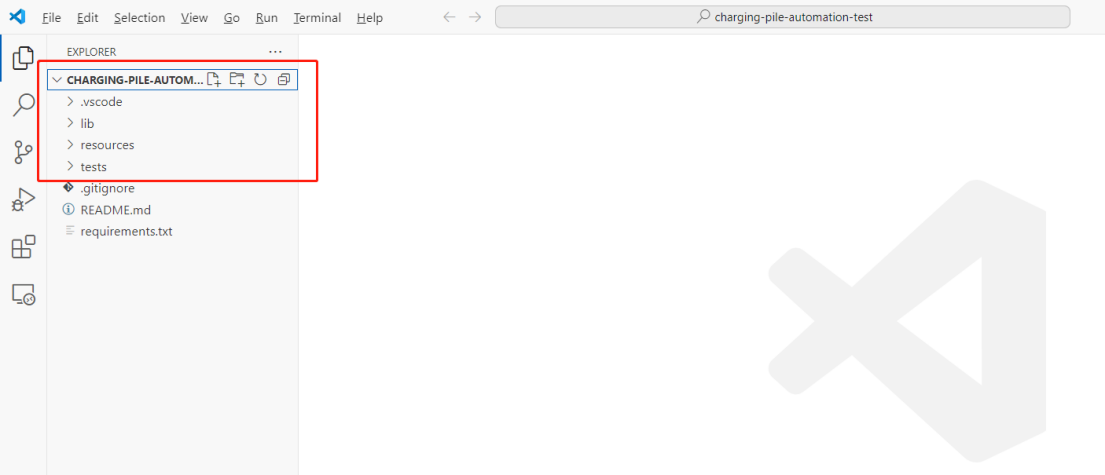
1. 以管理员的身份打开VSCode,打开上面下载的项目,如图
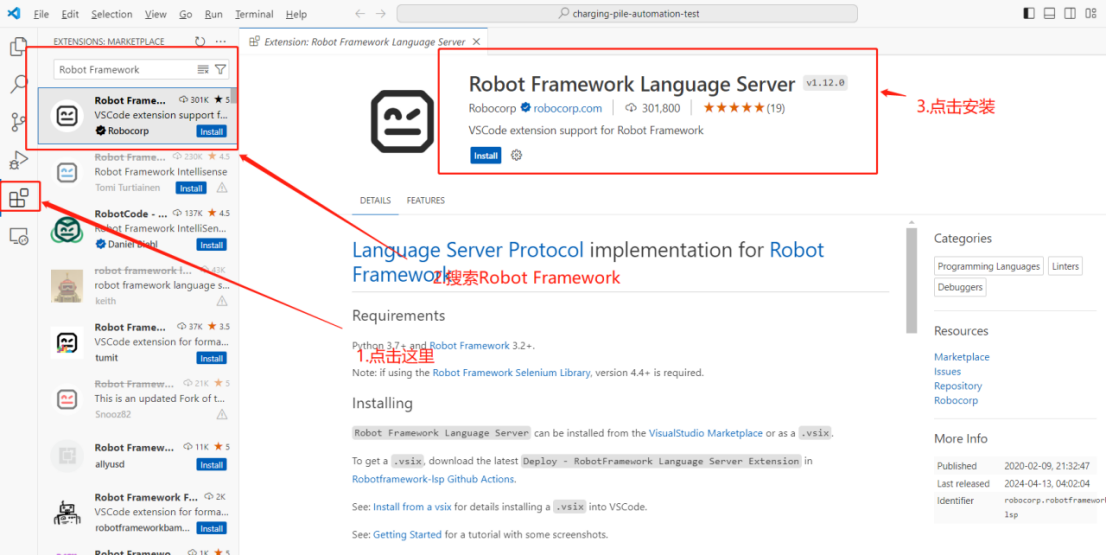
2. 在VsCode 下载插件
自动化测试框架脚本插件
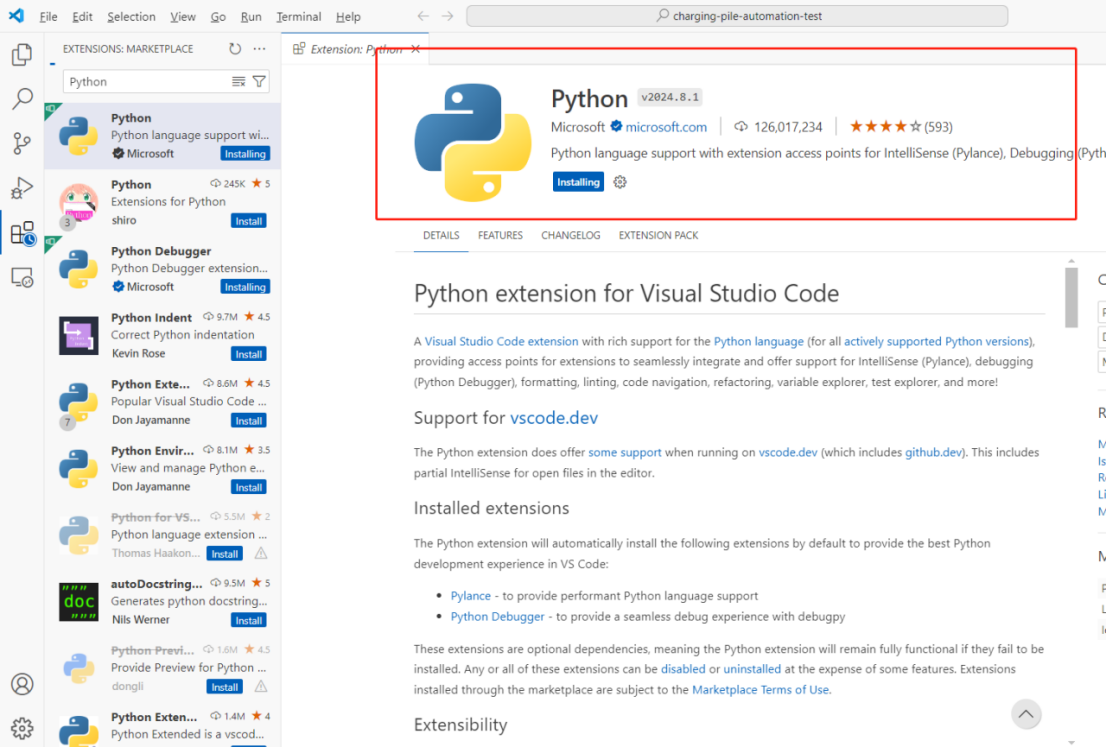
Python插件
3. 创建Python虚拟环境
在项目中找到任意的python文件运行(运行前确保用管理员的身份打开VSCode)
运行python代码,VSCode 出现Windows Powershall
执行指令set-executionpolicy remotesigned(需要管理员权限)

执行查看修改结果get-executionpolicy

执行python -m venv venv创建 虚拟环境保存的文件夹,执行指令后自动创建对应的文件夹
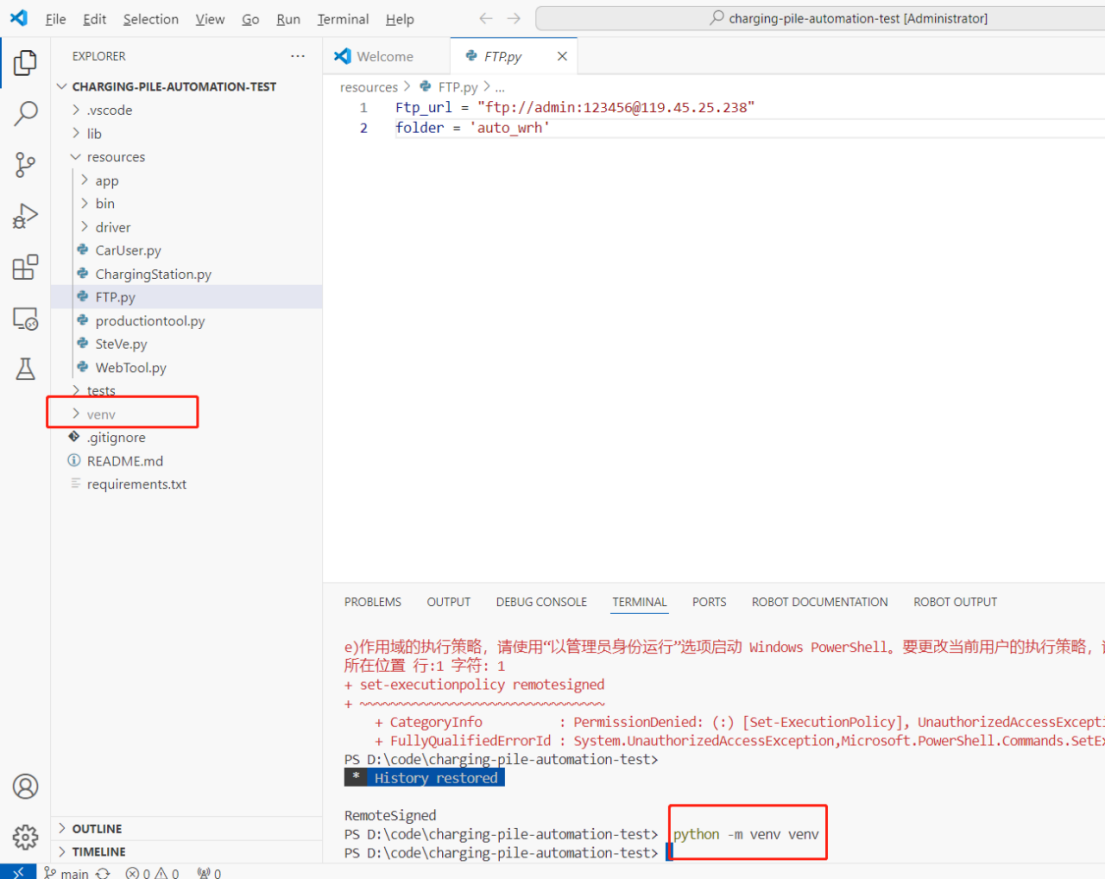
执行指令 .\venv\Scripts\activate 激活虚拟环境

执行pip 指令安装依赖库(翻墙或换源下载速度会更快)
pip install -r .\requirements.txt -i https://mirrors.aliyun.com/pypi/simple/ (临时换国内源)
或
pip install -r .\requirements.txt(默认源)
修改默认源的办法自行百度
如安装失败可以尝试更新pip和下载安装 Microsoft Visual C++ 14.0 is required. Get it with “Build Tools for Visual Studio”: https://visualstudio.microsoft.com/downloads/
执行 pip list 查看安装的依赖库是否和requirements.txt 的保持一致(如果前面没有提示安装失败,一般不会有问题,可以不检查)
4. 安装对应版本的Google Chrome(一般是新版本),要和项目中的驱动版本保持一致
具体参考:https://developer.chrome.com/docs/chromedriver/downloads?hl=zh-cn